Introduction
This page documents the complete paint and body work process on a Ford Bronco II project, including rust repair, media blasting, fiberglass patching, welded steel repairs, seam sealing, priming, and final paint. These techniques are especially relevant to early Bronco II and Ford Ranger bodies, which commonly rust around wheel wells, seams, and hatch openings. The goal of this project was to stop rust permanently while achieving straight, durable paint using tools and materials accessible to home builders.
Overview of Paint and Body Work Techniques Used
- Media blasting for rust removal without thinning metal
- Chemical rust neutralization using Dupli-Color Rust Fix
- Fiberglass mat and resin for non-structural rust repair
- Steel patch panel welding for structural areas
- Body filler shaping and long-board sanding
- Seam sealer replacement to prevent future moisture intrusion
- Single-stage acrylic enamel paint application
Note: Media blasting, welding, and painting involve hazardous materials and equipment. Always use proper safety gear including eye protection, respirators, gloves, and ventilation.
Common Rust Areas on the Ford Bronco II
- Front wheel wells
- Lower fender edges
- Rear hatch opening corners
- Body seams and seam sealer joints
- Areas behind the liftgate and roof seams
The Bronco II Project
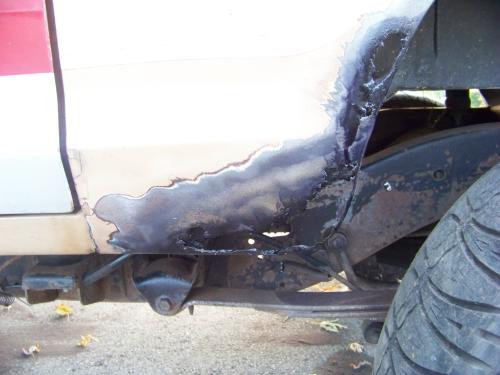
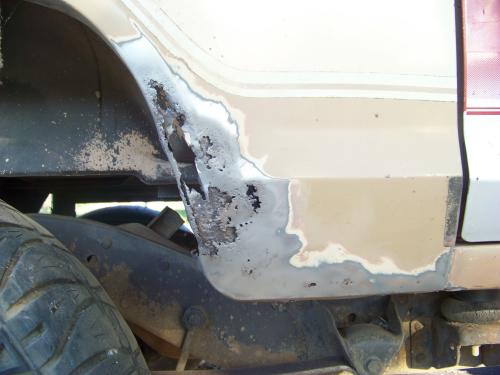
The Bronco II Project had some serious bubbles in the paint around the fender wells. The best way to address it was with media blasting. It’s easy to do with an economical media blasting kit, and an air compressor. The best part about media blasting is that it will remove the rust without removing good solid metal. Also, you don’t have to deal with the rusty edges ripping your sandpaper, or a grinder grinding away good metal.
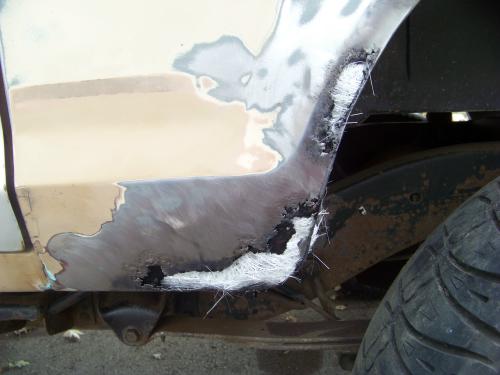
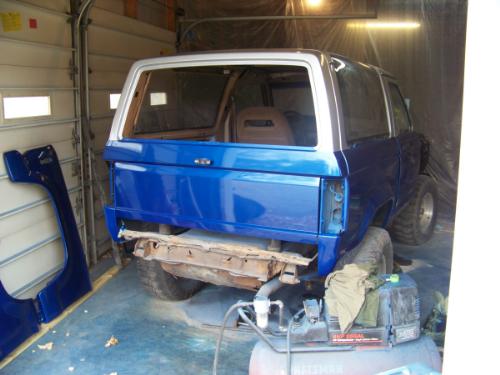
Here you can see the front of the wheel well on the driver’s side. This photo was taken right after I media blasted it.
There are (2) ways that I can fix this:
- I can either cut this section out and weld in a patch panel
- I can rebuild it with fiberglass
I’m going to do it with fiberglass so you can see that this is something anyone can do without any special skills.

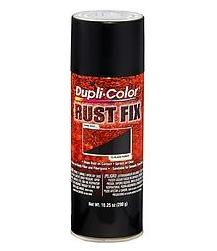
After I blasted the area, I sprayed the area with Dupli-Color Rust Fix and let it set for 24-hours. According to Dupli-Color, Rust Fix destroys rust on contact by bonding and transforming it into a sandable and paintable surface. It sprays on clear and transforms into a black, metal protecting coating, that prevents future rust from forming.
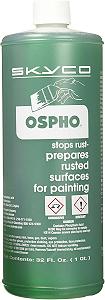
My preferred metal treatment is Ospho. Ospho is a liquid rust converter and metal treatment primarily composed of phosphoric acid and dichromates. Since 1947, it has been used to treat rusted surfaces by chemically converting iron oxide (rust) into iron phosphate, an inert, hard black substance that prevents further corrosion. I have been personally using this on rust repair since the early 1990’s.
At the time of this build I didn’t have any and the Dupli-Color was the only thing I had available.
Even though I blasted the area, I was still concerned about any rust that may have been left, especially on the back side of the metal. I sprayed both sides making sure that I got the back side of the panel from inside of the wheel well. I let the Rust Fix sit for 24-hours as directed.
Before continuing, I sanded the surface back off before starting the repair work. Although it looked like I had blasted all the rust, I wanted to make sure that I had gotten everything (especially on the back side) and that rust wasn’t going to return.
I took some fiberglass mat and applied it to the back side of the sheet metal. You want to build it up from the back. If you apply it on the front, the surface will become too thick. You have to remember that if you add a patch to a surface, you have to use a filling compound to smooth it out, so you don’t have a ‘hump’ in the surface. The thicker the patch, the more you have to taper the filler out so it’s smooth and flat. Patching it from the back, I only have to fill and smooth it level with the front of the panel.
Before doing the work, I actually tapped the edges of the rust holes in so they would be below the surface when adding filler and sanding.
You can’t just put body filler in the holes to fill them up. The fiberglass mat is put in place, and then resin is brushed over it.
There are actually (2) sheets of metal here. With the interior out, you can see down into this space where the metal comes together. I was able to put fiberglass down into this opening from inside the Bronco II. The photo below was taken before I applied the resin. I added several coats of fiberglass and resin to make sure I had a strong repair.

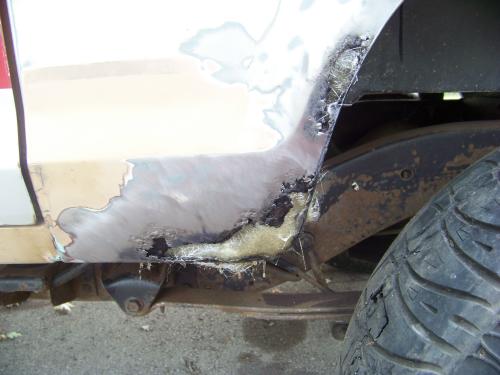
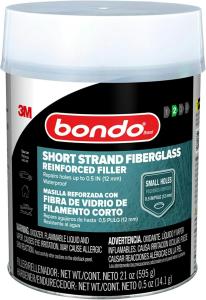
Once the hole is patched up, you can start filling the area with a filler that has fiberglass strands and fibers such as Bond-Glass (now called 3M Bondo Short Strand Fiberglass Reinforced Filler). Regular filler can only be applied about 1/8-inch thick. If you get it to thick it will crack. It can even swell up and cause the surface to ‘bubble’. Bondo-Glass is much stronger with the fiberglass in the mix. In fact, Bondo-Glass is so hard, that it’s difficult to sand.

You can see where I filled in the area over the hardened fiberglass mat with the Bondo-Glass and then sanded down the high spots. The dark spots show the low area, but they’re shallow enough to be able to be filled with normal body filler.
From there, regular body filler was used the smooth the area.

It’s important that you use a long sanding board to get a flat, straight surface. The board below is not my longest, but good for the small size of this area.

A few more light coats of filler and a lot of sanding, and it was finally flat and smooth. The photo above doesn’t show the finished work before it was primered.
The front of the wheel well on the passenger side had a bad rust spot as well.
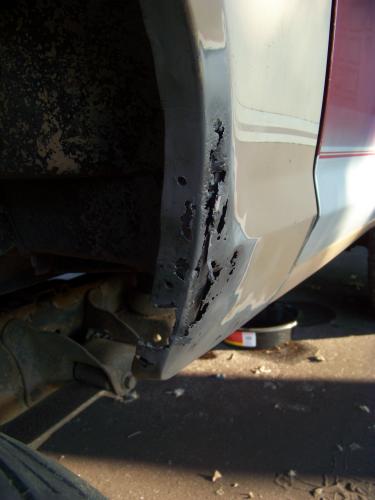
I won’t go through much detail on this side, but I repaired it with fiberglass, resin, Bondo-Glass, and body filler just like I did on the driver’s side.

The rear of the Bronco II had a rust hole in the lower right corner inside the opening for the rear lift gate. I feel that this spot has more structural importance, so I’m going to patch it with some sheet metal and a MIG welder.
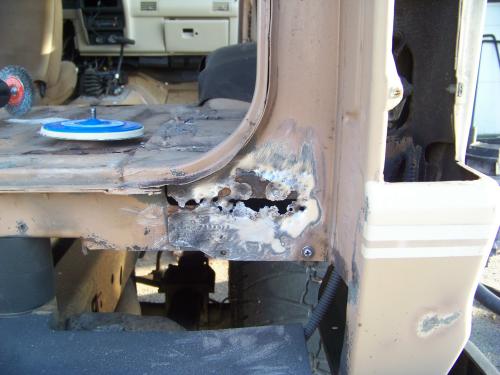
I cut a piece of sheet metal and then tacked it in place. I used one of those less expensive Campbell-Hausefeld MIG welders for the repair. I just did a series of tack welds moving from opposite sides with each weld, so I didn’t overheat the metal and warp it.
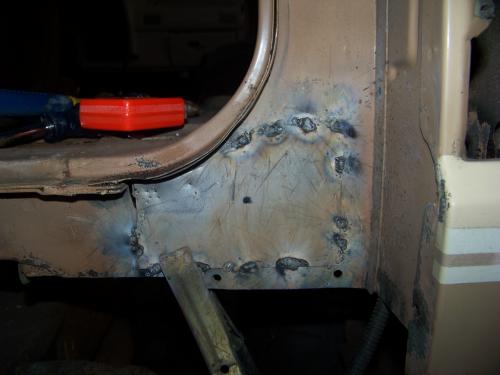
Once I had the piece welded in, I grinded down the welds with a grinder to smooth it out. You have to make sure you don’t grind them down to the point that you break the weld.
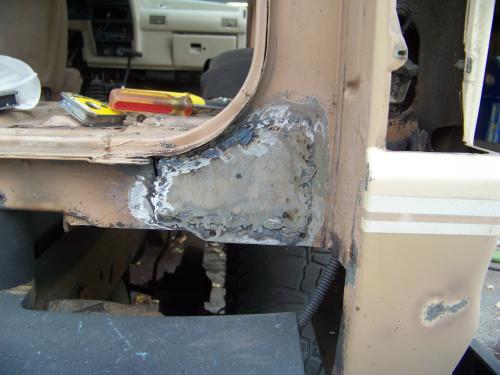
Once the welding and grinding was done, I used some body filler to get everything smooth.
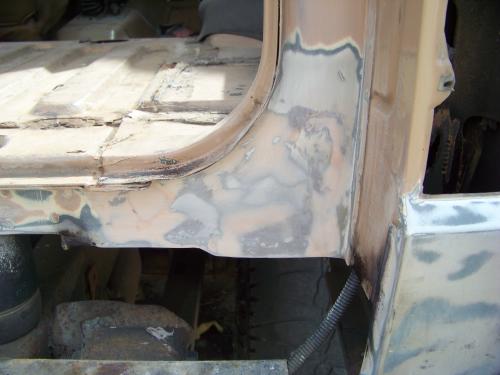
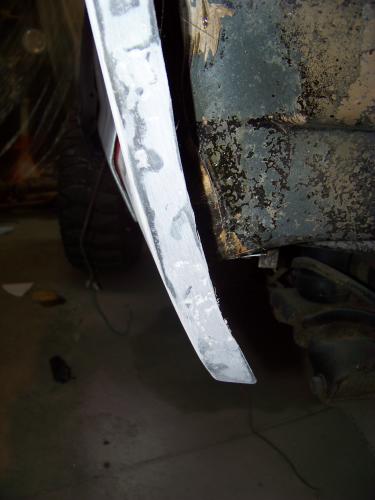
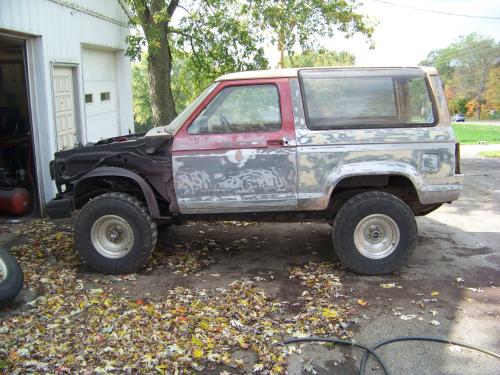
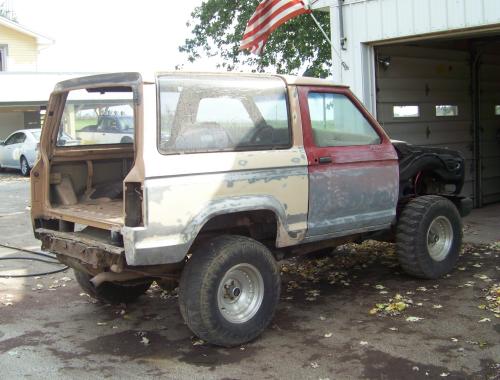
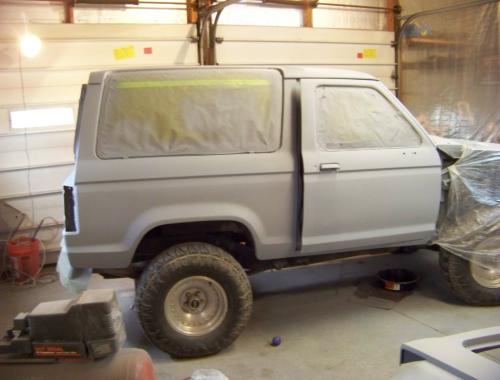
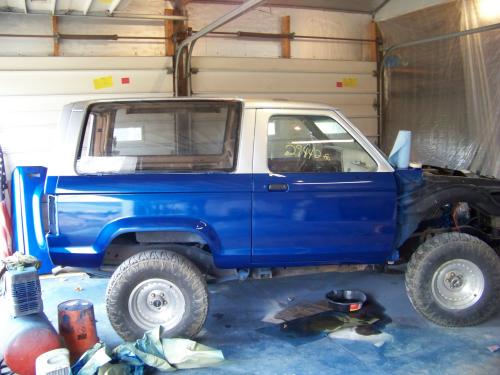
The Bronco II is finally sanded and ready for primer. The original doors were too rough and were replaced with some newer rust-free ones. The new ones have power windows and locks. A nice upgrade. I also bought new fenders. That’s why there’s no front fenders on it.
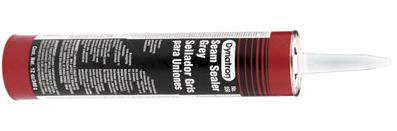
I don’t have a photo of it, but the area behind the top of the liftgate had quite a bit of surface rust, and was media blasted as well. I went around the Bronco II and applied new seam sealer where the old sealer was either blasted away or removed to get to the rust under it. It’s important that you use seam sealer in all your body seams to prevent moisture getting in and rusting. Also, unlike regular caulk, seam sealer can be painted.
The Bronco II was given a nice coat of primer and was then sanded down with 320 grit paper. It was sanded, primered, and re-sanded again in spots until it was finally straight and smooth.
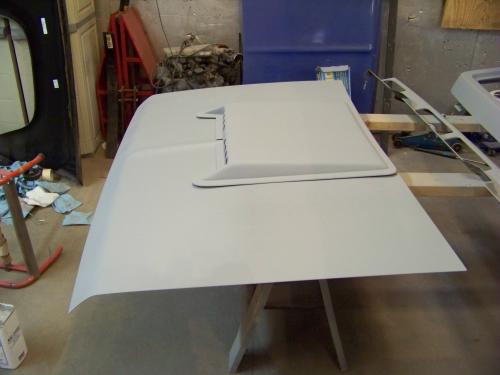
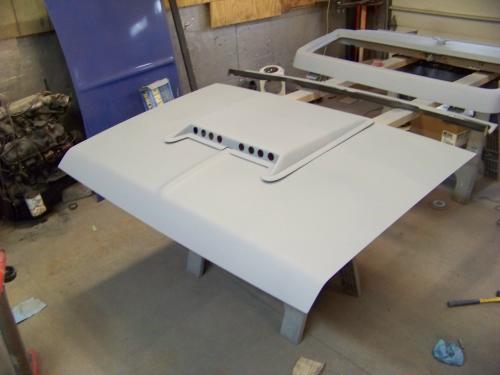
My wife got me this hood scoop from Summit Racing. I had to cut a notch in the front to go over the hump in the hood. I also cut the holes in to the front to let air enter and cut a huge hole on the hood under the scoop. I primered and painted the hood and scoop separately. I just sat it on here to see how it was going to look.
Once everything was primed and sanded straight with 320 grit paper, I went back over it with 600 grit paper. The 600 grit will make sure there isn’t any sanding scratches that will show up under the paint.
The Bronco II was painted with Nason Ful-Cryl II acrylic enamel using Evercoat Wet Look hardener. This is a single stage paint which means it doesn’t require a clear coat to be shiny. I masked the Bronco II off and painted the top silver and then waited (2) days before shooting the blue.
I’m going to let the Bronco II sit in the shop for a couple of weeks before re-assembling it. Fresh paint can chip easily, so I want to make sure it has plenty of time to cure and harden up.
Finished Project

Related Links
Painting Your Bronco II – Rust Repair
Painting Your Ford Bronco II – Primer, Paint & Polishing
The Junkyard & Spare Parts Bronco II
Last Updated:
About The Author
Jim Oaks is a longtime Ford truck and SUV enthusiast and the founder of The Ranger Station and Bronco II Corral. With decades of hands-on experience, he writes both technical and non-technical articles covering the Ford Bronco II, including mechanical systems, factory engineering, common upgrades, and detailed feature vehicle write-ups.
In addition to technical content, Jim documents Bronco II history, rare factory and aftermarket models, production details, and original Ford marketing materials. His work is based on firsthand experience, original documentation, and long-term involvement in the Ford enthusiast community.
Through his sites, Jim has built comprehensive reference libraries that serve owners, builders, restorers, collectors, and historians, helping preserve the Bronco II’s technical knowledge and historical significance.