
Introduction
This page explains how to remove the rear liftgate on a Ford Bronco II for body repair, hinge service, glass replacement, wiring repair, or full liftgate replacement. The procedure covers supporting the liftgate, disconnecting the gas assist struts, removing interior trim, unbolting the hinges, and safely lifting the complete assembly off the vehicle.
Liftgate alignment adjustment is also covered to ensure proper fit and even panel gaps during reinstallation.
Common reasons for rear liftgate removal include rust repair, hinge replacement, rear glass service, electrical wiring access, and full vehicle restoration.
Rear Liftgate Removal Procedure
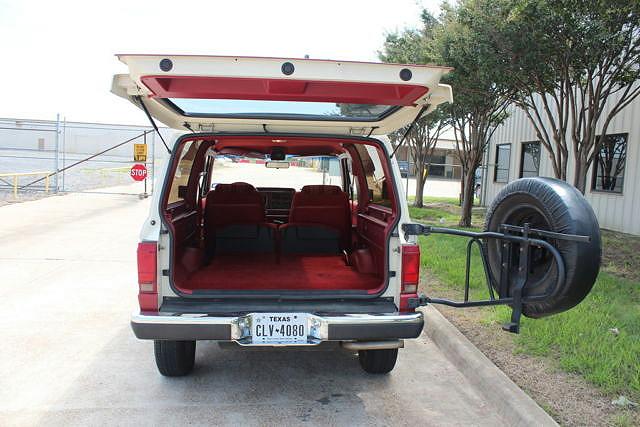
- Open the liftgate door.
- Remove the upper rear center garnish molding.
- Support the door in the open position and disconnect the liftgate gas cylinder
assist rod assemblies. - Carefully move the headliner out of position and remove the
hinge-to-header panel attaching nuts. - Remove the hinge-to-liftgate attaching bolts and remove the complete liftgate assembly.
- Installation is the reverse of the removal procedure.
Rear Liftgate Alignment Adjustment
The liftgate can be adjusted slightly in or out and side to side by loosening the hinge-to-header nut or bolt. Some up and down adjustment can be accomplished by loosening the hinge bolts on the liftgate and moving the gate up or down.
The liftgate should be adjusted for even and parallel fit with adjoining body panels before tightening all fasteners.
Last Updated:
About The Author
Jim Oaks is a longtime Ford truck and SUV enthusiast and the founder of The Ranger Station and Bronco II Corral. With decades of hands-on experience, he writes both technical and non-technical articles covering the Ford Bronco II, including mechanical systems, factory engineering, common upgrades, and detailed feature vehicle write-ups.
In addition to technical content, Jim documents Bronco II history, rare factory and aftermarket models, production details, and original Ford marketing materials. His work is based on firsthand experience, original documentation, and long-term involvement in the Ford enthusiast community.
Through his sites, Jim has built comprehensive reference libraries that serve owners, builders, restorers, collectors, and historians, helping preserve the Bronco II’s technical knowledge and historical significance.